Choose the tie from the installation environment, cable bundle dimensions, required working load, locking mechanism, and complete assembly temperature rating—not from appearance or headline tensile strength. By the end, you will be able to specify the stainless grade, size, coating, certification, tool, and inspection checks that fit your cable route.
Key takeaways
- Choose 304 for controlled indoor conditions and 316 for chloride exposure.
- Measure the finished cable bundle before selecting tie length and width.
- Match the locking mechanism to installation tension and vibration demands.
- Check coating, temperature limits, electrical contact risks, and certification documents.
Match the Stainless Grade to the Site and the Certification
Choose 304 stainless steel for dry indoor industrial routes where chloride and chemical exposure are controlled. Choose 316 stainless steel for coastal, marine, wastewater, photovoltaic, or chloride-contaminated sites because its molybdenum improves resistance to localized pitting and crevice corrosion.
| Grade | Suitable environment | Marking or evidence to request |
|---|---|---|
| 304 stainless steel | Indoor plant rooms and sheltered routes with low chloride exposure | “304” or “AISI 304” for the complete assembly |
| 316 stainless steel | Coastal air, salt spray, wastewater, chlorides, and selected chemical environments | “316” or “AISI 316,” plus documented salt spray resistance where specified |
| PV cable tie | Outdoor photovoltaic routes exposed to sunlight, rain, and temperature cycling | IEC 62275 compliance or UL 62275 Type 21S classification |
316 is not corrosion-proof. Salt deposits, stagnant moisture, narrow crevices, and contaminated surfaces can still attack it, so inspect the route as well as the material choice.
Do not accept “UL approved” as a complete claim. Request the UL 62275 certification record or datasheet showing the exact classification and intended environment; use IEC 62275 documentation for installations specified to that standard. The grade stamped on the band does not prove the locking ball, pawl, washer, or coating uses the same alloy.
Require the material designation for the complete assembly.
Specify a controlled flush cut, protected cut end, or approved installation tool. An ordinary side cutter can leave a burr that damages insulation or cuts an installer, regardless of the tie’s stainless grade.
Size the Tie From the Bundle, Not the Package Photograph
Measure the installed cable bundle at its widest point; do not estimate the cable bundle diameter from a catalogue photograph. Include the bundle’s actual shape, added conductors, protective sleeving, and the clearance needed for the locking head.
- Use the measured diameter to begin the tie length calculation: circumference is approximately 3.14 times diameter, then add the locking-head engagement length and the manufacturer’s required tail allowance.
- Choose tie width from the cable surface and routing space. Wider band spreads compression; narrow band fits tight clearances but creates higher local pressure at the same tension.
- Select capacity from the manufacturer’s rated working load, not loop tensile strength alone. Apply an explicit safety factor for vibration, movement, thermal cycling, and installation damage.
- Set the required tension range and use a calibrated tensioning tool. Hand tightening can crush insulation; insufficient tension lets the bundle move and fret.
| Selection point | Measure or request | Failure if mismatched |
|---|---|---|
| Bundle diameter | Widest installed section, including sleeving and irregular shape | A short tie cannot engage the lock; excess length leaves a snagging tail |
| Tie length | Circumference plus locking engagement and tail allowance | The tie bottoms out before securing, or wastes clearance |
| Tie width | Cable jacket hardness, insulation thickness, and routing clearance | Narrow band concentrates pressure; an oversized band will not route |
| Load capacity | Rated working load, safety factor, and installation geometry | Loop tensile strength alone can overstate support performance |
Select the Locking Mechanism and Control Installation Tension
Choose the locking mechanism around access, vibration, rework, and cable-contact risk—not installation speed alone. A fast lock that leaves a sharp projection or cannot be reopened can cost more during commissioning.
| Mechanism | Installation and vibration behaviour | Rework and cable-protection effect |
|---|---|---|
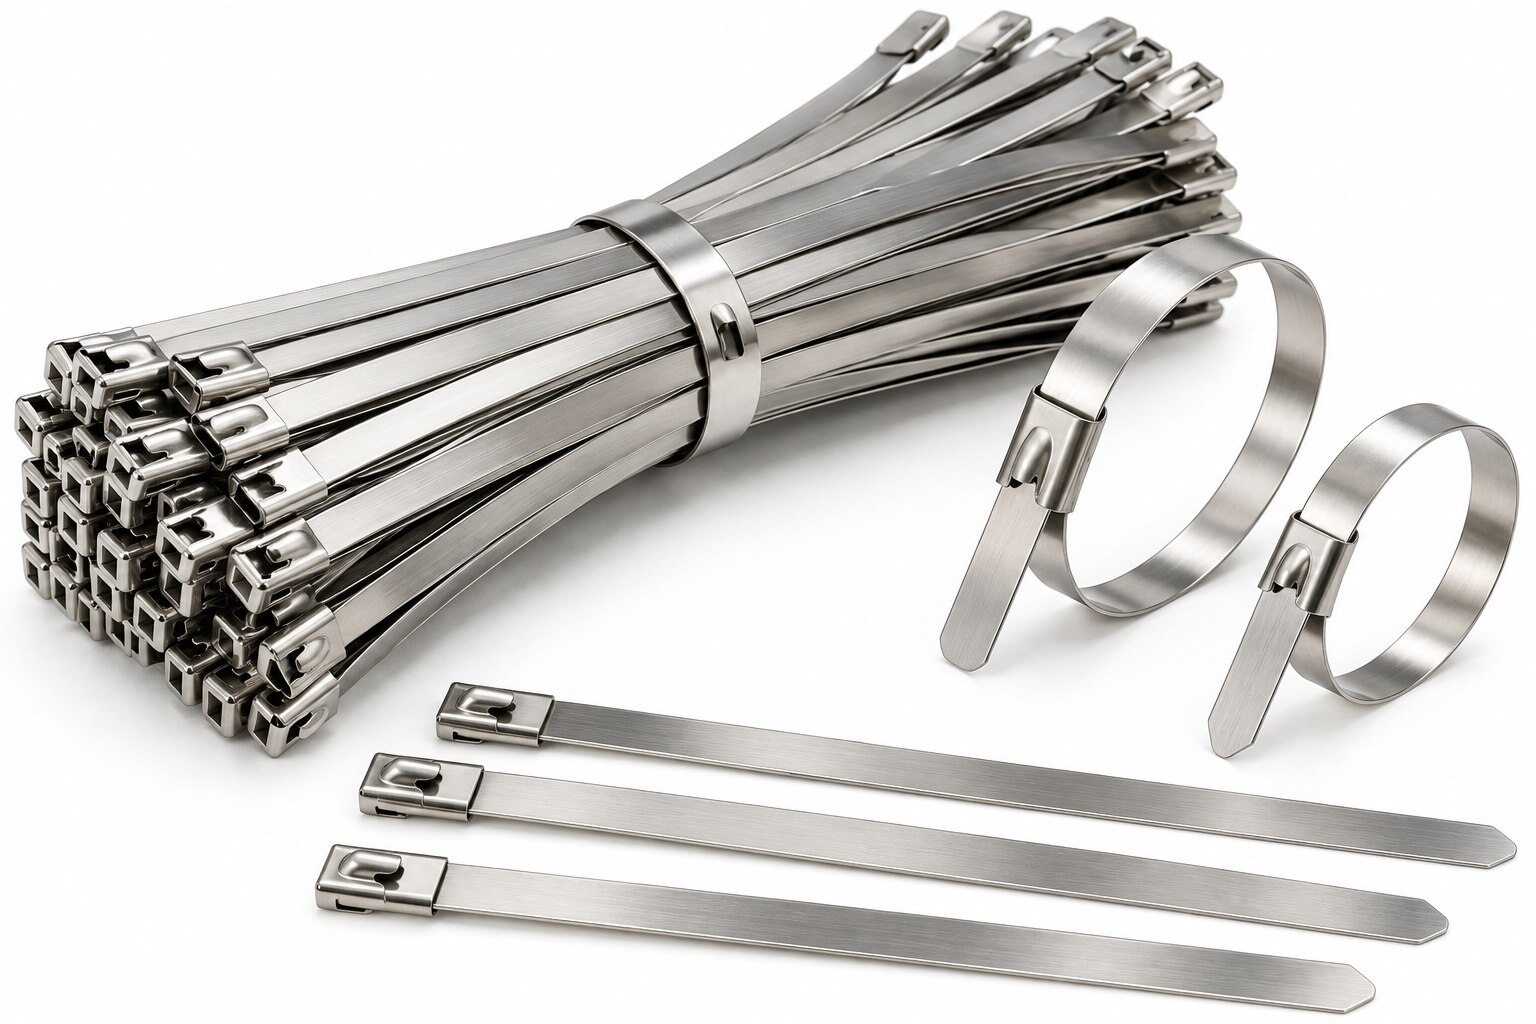
| Ball-lock cable ties | Compact, self-locking, and quick to pull up; secure under vibration when correctly tensioned | Usually one-use; a dedicated cut-off tool helps prevent a sharp end, but an ordinary side cutter can leave a dangerous burr |
| Ladder-style cable ties | Indexed holes or slots give controlled positioning and consistent engagement; useful where vibration demands a firm mechanical lock | Re-entry depends on the design; the band can be positioned precisely without forcing excessive compression onto the bundle |
| Buckle mechanism | Provides positive locking and controlled pull-up, but the buckle creates a larger local obstruction and can slow routing through tight clearances | Inspect the buckle for contact with insulation, adjacent equipment, and moving parts; its projection can create an abrasion point |
| Releasable cable ties | Speeds temporary routing and changes during testing; vibration resistance depends on the release feature and secondary retention | Suitable for planned rework, not automatic permanent security; verify that the release cannot open under cyclic movement |
Set installation tension with a calibrated tool, not by hand feel. Stop when the bundle is held without jacket deformation, flattened insulation, or visible coating damage. Excess tension raises local pressure—especially with a narrow tie—and can crush soft photovoltaic or data-cable jackets; insufficient tension allows slip, fretting, and vibration noise.
Require a controlled flush cut or protected cut end after locking.
Compare Coatings, Temperature Limits, and Electrical Risks
Choose uncoated stainless steel ties where metal-to-metal bonding, shielding continuity, or maximum heat resistance matters and cable insulation will not be abraded. Choose coated stainless steel ties where the band could chafe insulation, expose installers to sharp metal, or must provide electrical isolation from the cable.
| Option | Main advantage | Use it when |
|---|---|---|
| Uncoated stainless steel ties | Conductive, durable, and free of polymer temperature limits | The assembly needs a bonding path, high heat tolerance, or protected cable routing |
| Polyester-coated ties | Adds abrasion protection and a safer contact surface | The band touches insulation, equipment needs electrical isolation, or exposed metal is unacceptable |
| Fluoropolymer-coated ties | Combines insulation protection with stronger chemical and temperature resistance than many polyester systems | Chemical exposure or demanding outdoor service justifies the specified coating |
The finished tie, not just its stainless band, determines the temperature limit. Request separate continuous, intermittent, and installation temperatures for the complete assembly; a locking insert, coating, or tension-retention behavior can fail before the metal does.
Inspect the buckle, cut end, and band after installation. Tool damage that exposes metal defeats the coating specification, while an ordinary side cutter can leave a burr that cuts insulation or hands. Specify an approved tool, controlled flush cut, or protected end.
Do not treat a coated tie as a bonding conductor. On energized equipment, confirm de-energization or the required arc-flash controls, then preserve specified creepage and clearance. If bonding is required, use a tested conductive contact arrangement or a separate bonding conductor and approved clamp.
When sourcing either version from Yueqing Growmore Electric Co, request material and temperature data for every assembly component, not only the band.
Related product
 | Cable Accessories STEEL TIES ( COATED & UNCOATED ) Steel Ties (Coated & Uncoated) YUEQING GROWMORE ELECTRIC CO., LTD. Strength. Safety. Security. View product → |
Turn the Specification Into a Site-Ready Purchase Check
Before accepting a shipment, match every line of the purchase order to documents tied to the supplied lot.
“UL approved” proves little: request the IEC 62275 test or declaration, the UL certification record identifying UL 62275 Type 21S for PV use where applicable, and a datasheet stating grade, dimensions, tensile rating, temperature range, coating, and intended environment.
1. Confirm traceability. Require the manufacturer, part number, batch or lot number, packing date, and certificate or inspection report. Reject cartons whose labels cannot be matched to the datasheet or certification record.
2. Check the metal and lock. Sample ties for the specified grade, straight bands, clean edges, fully formed ball-locks or buckles, and a lock that accepts the band without slipping. Reject rust, deep scratches, cracked welds, distorted locks, sharp unfinished ends, or mixed grades.
3. Inspect coating and isolation. Look for peeling, blisters, pinholes, exposed metal, and coating cuts at the buckle or band edge. For aluminum trays, module frames, coastal routes, and wet plants, verify the approved isolator or fastener system; otherwise galvanic corrosion can start in a damp crevice.
4. Perform installation inspection on sample ties. Check the approved tool, pull-up tension, flush-cut method, and cut-end protection. Reject burrs or projections that can abrade insulation, and request test evidence for vibration, water, chemical, or temperature exposure when those conditions define the site.
Frequently asked questions
Should you choose 304 or 316 stainless steel cable ties?
Choose 304 for dry indoor industrial routes with controlled chemical exposure. Choose 316 for coastal, marine, wastewater, photovoltaic, or chloride-contaminated sites because molybdenum improves resistance to localized pitting and crevice corrosion.
How do you select the correct cable tie size?
Measure the cable bundle’s actual circumference, then choose a tie long enough to pass around it and through the locking head with installation clearance. Check the manufacturer’s working length, width, and load rating rather than relying on the package photograph.
Which locking mechanism should you use for industrial cable management?
Compare ball-lock, ladder-lock, and non-releasable designs against the required pull strength, vibration exposure, installation access, and whether maintenance requires removal. Control tension with the correct installation tool to avoid damaging cable jackets.
What should you check besides stainless steel grade?
Check coating material, continuous operating temperature range, resistance to chemicals and ultraviolet exposure, electrical conductivity or insulation requirements, edge protection, and certification documents before purchase.