A glowing lamp is useful only when you know exactly which electrical condition its circuit represents. By the end, you will be able to define each indication clearly, wire it to show the intended status, choose a compatible device, and avoid treating a lamp as proof that equipment is operating or safe to touch.
Key takeaways
- A lamp proves voltage or contact state only at its connection point.
- Use auxiliary contacts when you need proof that equipment changed state.
- Match lamp voltage, panel cutout size, IP rating, and terminal arrangement.
- Record each lamp’s source, meaning, test method, and failure response.
What Does Each Panel Lamp Actually Tell You?
An indication lamp reports the condition at its connection point, not the electrical panel status as a whole. A lamp across a contactor coil proves that the coil is energised; it does not prove that the motor is turning.
Use each lamp for one defined indication:
- Supply present: voltage exists at the lamp terminals.
- Phase available: the named phase reaches the sensing circuit.
- Motor running: a running relay, feedback contact, or proven operating signal is active.
- Breaker tripped: a trip auxiliary contact has changed state.
- Fault active: the fault relay or controller output is energised.
- Heater energised: the heater contactor or output circuit is active.
- Control circuit enabled: the enabling chain is complete.
A lamp connected through a circuit-breaker auxiliary contact shows that contact’s representation of breaker position. It is not equivalent to a lamp connected directly across the supply, which shows voltage presence. That distinction defines the indication lamp meaning.
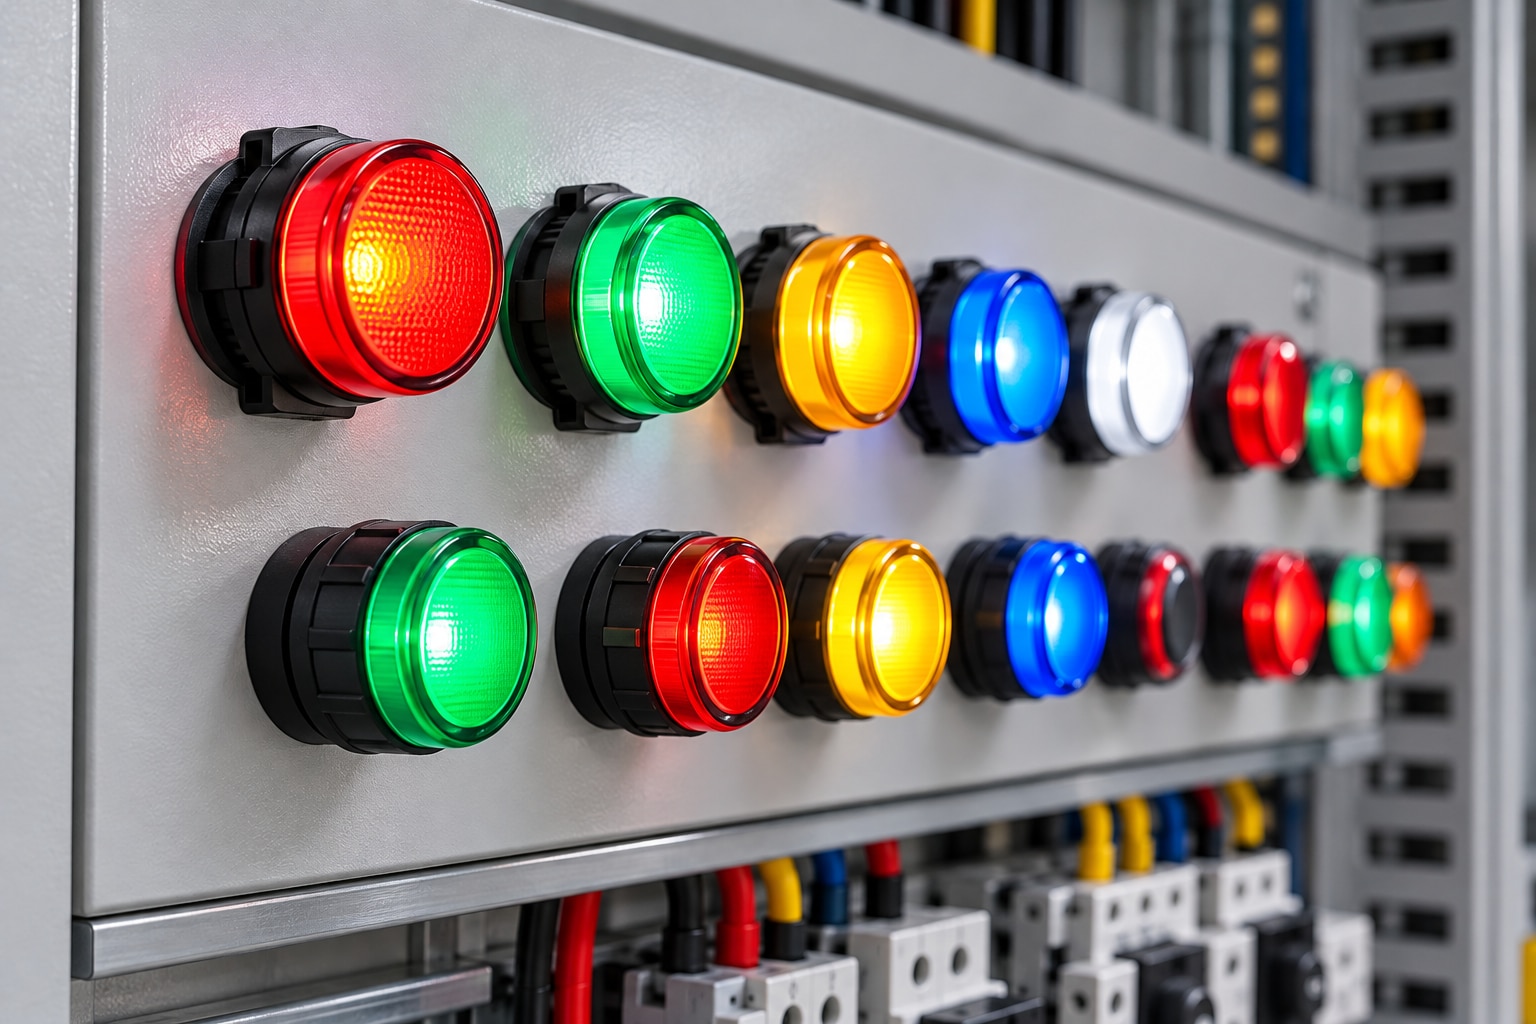
Document motor running lamp colours and every other colour in the legend:
- Green: running or healthy.
- Red: stopped, tripped, danger, or abnormal.
- Amber or yellow: warning.
- Blue or white: an auxiliary or defined machine function.
IEC 60204-1 and the project control philosophy take precedence when a colour has a specified machine meaning. Write “green: motor contactor coil energised,” not “green: motor OK.”
How Should You Wire a Lamp Without Misreading the Signal?
In a 230/400 V three-phase system, use a 230 V lamp line-to-neutral and a 400 V-rated lamp line-to-line. A 230 V lamp connected across two phases receives approximately 400 V and can fail immediately.
1. Connect the lamp line-to-neutral to show voltage on that phase and its neutral return. A three-lamp phase-presence circuit needs a sound shared neutral; if it opens, the floating star point can shift voltage, overvolting one or more lamps.
2. Connect the lamp line-to-line to show voltage between two phases. This indicates phase-to-phase availability, not correct phase sequence, load operation, or acceptable voltage balance.
3. Place a contactor coil indication lamp across the coil to show voltage at the coil terminals. It does not prove that the contactor pulled in, that its main contacts closed, or that the motor can run.
4. Wire the lamp downstream of a fuse or circuit breaker to show voltage after that protective device. A line-side lamp can remain lit while the breaker load side is isolated; an auxiliary-contact lamp instead represents the breaker’s indicated position, not power available downstream.
Protect each lamp branch for the conductor size, fuse, terminal, power-supply rating, and prospective fault current. The lamp’s current rating alone does not set branch protection.
A dark lamp is not proof of a dead circuit: the lamp, fuse, neutral, or wiring could have failed. Isolate, lock out where required, and verify with a suitable test instrument before touching exposed parts, consistent with OSHA 29 CFR 1910.333.
How Do You Choose the Correct Lamp and Make It Fit?
Choose the lamp from the measured circuit and panel drawing, not from its colour or appearance. Match rated voltage to the actual supply, then confirm AC or DC compatibility and permitted frequency. A 24 V DC indicator is not automatically suitable for 24 V AC.
| Technology | Electrical behaviour | Check before selection |
|---|---|---|
| LED pilot lamp | Low steady-state current and no filament inrush | Transients, leakage, flicker, polarity and AC/DC rating |
| Incandescent pilot lamp | High cold-filament inrush can stress protection and contacts | Fuse coordination, contact rating and replacement heat |
Specify these details on the purchase request:
- Current draw, terminal arrangement, and polarity markings
- For a DC LED, positive and negative terminals; reverse connection can prevent illumination or damage an unprotected circuit
- LED response to voltage transients and PLC-output leakage; dim glow or flicker requires only a manufacturer-approved bleeder, load resistor, or compatible interface
- Resistor wattage and enclosure heat, because a bleeder dissipates continuous power
- Mounting hole: 16 mm or 22 mm panel lamp hole
- Permitted panel thickness, rear clearance, terminal access, and whether retention uses a nut or spring clip
Check the manufacturer’s physical drawing before drilling. A documented specification from Yueqing Growmore Electric Co can then be compared against the enclosure, supply voltage, and wiring plan rather than selected by appearance alone.
For procurement, compare the electrical differences directly:
| Check | LED | Incandescent |
|---|---|---|
| Steady current | Lower | Higher |
| Inrush | None from a filament | High when cold |
| Main risk | Leakage glow or transient damage | Nuisance trips and contact wear |
Related products
 | Indication Lamp Illuminate precision and safety with Yueqing Grow More’s premium Indication Lamps — engineered for reliability, clarity, and durability. View product → |
 | Indication Lamp Amper + Voltage Meter AD112-22FVA Illuminate precision and safety with Yueqing Grow More’s premium Indication Lamps — engineered for reliability, clarity, and durability. View product → |
When Is a Lamp Better Than a Meter, Pushbutton, or HMI?
Use a lamp when the operating question has a binary answer: Is the contactor coil energised, is heater output enabled, or is the fault relay active? Pilot light versus indicator lamp is mostly terminology; both commonly describe a simple status display.
| Device | What it tells you | Choose it when |
|---|---|---|
| Plain lamp or pilot light | Present or absent condition at its connection point | You need immediate panel-face status |
| Illuminated pushbutton | Status plus a manual command | The operator must start, stop, reset, or acknowledge |
| Buzzer | An audible demand for attention | A visual check could be missed |
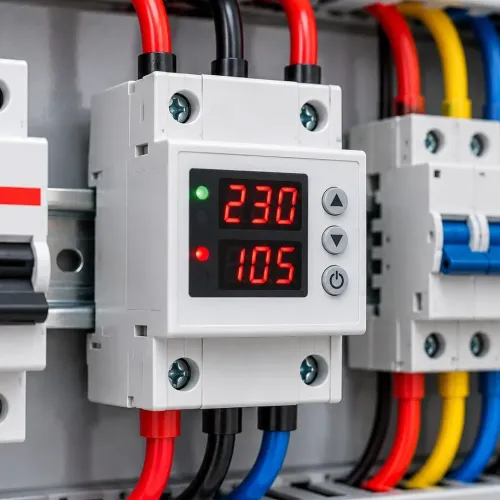
| Digital voltage meter | Measured voltage | You are checking phase loss or undervoltage |
| Ammeter | Measured current | You are checking overload, imbalance, or changing demand |
| Multifunction meter | Voltage, current, power, frequency, and related values | One instrument must support diagnosis |
| PLC status display | Programmed states and alarms | Sensors and controller data are available |
| HMI | States, alarms, trends, and history | You need context and operator interaction |
Choose a voltage meter or ammeter when a measured value matters. Three phase-presence lamps cannot quantify phase loss, undervoltage, overload, imbalance, or changing process demand; an open shared neutral can also shift their voltages and mislead you.
A PLC display or HMI depends on sensors, programming, communications, and control power. A lamp remains the better choice for immediate, low-complexity indication, but never for information that requires measurement or event diagnosis.
How Do You Document, Commission, and Maintain the Indication Circuit?
Make the schematic the source of truth: show the lamp tag, source and return conductors, fuse or breaker, terminal numbers, contactor or auxiliary contact, rated voltage, and represented condition.
Use identical wording on the door panel legend and control narrative. Write “phase L1 present,” “breaker closed,” and “motor running” as separate indications; they are not interchangeable.
Check IEC 60204-1 for machine control and information functions, and IEC 60947-5-1 for control-circuit devices and switching elements. Apply the project’s local electrical rules as well.
During electrical commissioning, test every expected state:
- Supply on
- Breaker open
- Breaker closed
- Contactor pulled in
- Overload tripped
- Control fuse open
- Phase loss
- Shared-neutral loss, where that circuit exists
Then confirm LED polarity, terminal tightness, panel-hole retention, rear clearance, and no unintended glow caused by PLC-output leakage. A dark LED can indicate a failed lamp, open wire, blown fuse, or energized section elsewhere.
Record the lamp’s part number, rated voltage, colour, wiring location, and replacement method. Keep the replacement specification with the drawings; a visually similar lamp with the wrong voltage can fail or create a misleading status.
Treat the circuit as a diagnostic aid, not an isolation device. Maintenance still requires isolation, lockout/tagout where applicable, and live-dead-live verification with an appropriate tester before touching exposed conductors.
Frequently asked questions
What does each electrical panel indication lamp actually tell you?
It reports the condition at its connection point. A lamp across a contactor coil proves the coil is energised, not that the motor is running.
How should you wire an indication lamp to avoid misreading its signal?
Connect it to the specific voltage, auxiliary contact, or control circuit you want to monitor, then label what the illuminated and unlit states mean.
How do you choose the correct panel indication lamp?
Check the lamp’s rated voltage and frequency, LED or incandescent technology, colour, IP rating, mounting hole diameter, depth, terminals, and required approvals.
When is an indication lamp better than a meter, pushbutton, or HMI?
Use a lamp for a quick, low-cost binary status signal; use a meter for measured values, a pushbutton for commands, and an HMI for multiple states, trends, alarms, or diagnostics.
Related products
 | Indication Lamp Content for Indication Lamp – Yueqing Grow More Illuminate precision and safety with Yueqing Grow More’s premium Indication Lamps — engineered for... View product → |
 | Indication Lamp Content for Indication Lamp – Yueqing Grow More Illuminate precision and safety with Yueqing Grow More’s premium Indication Lamps — engineered for... View product → |
 | Indication Lamp Illuminate precision and safety with Yueqing Grow More’s premium Indication Lamps — engineered for reliability, clarity, and durability. View product → |